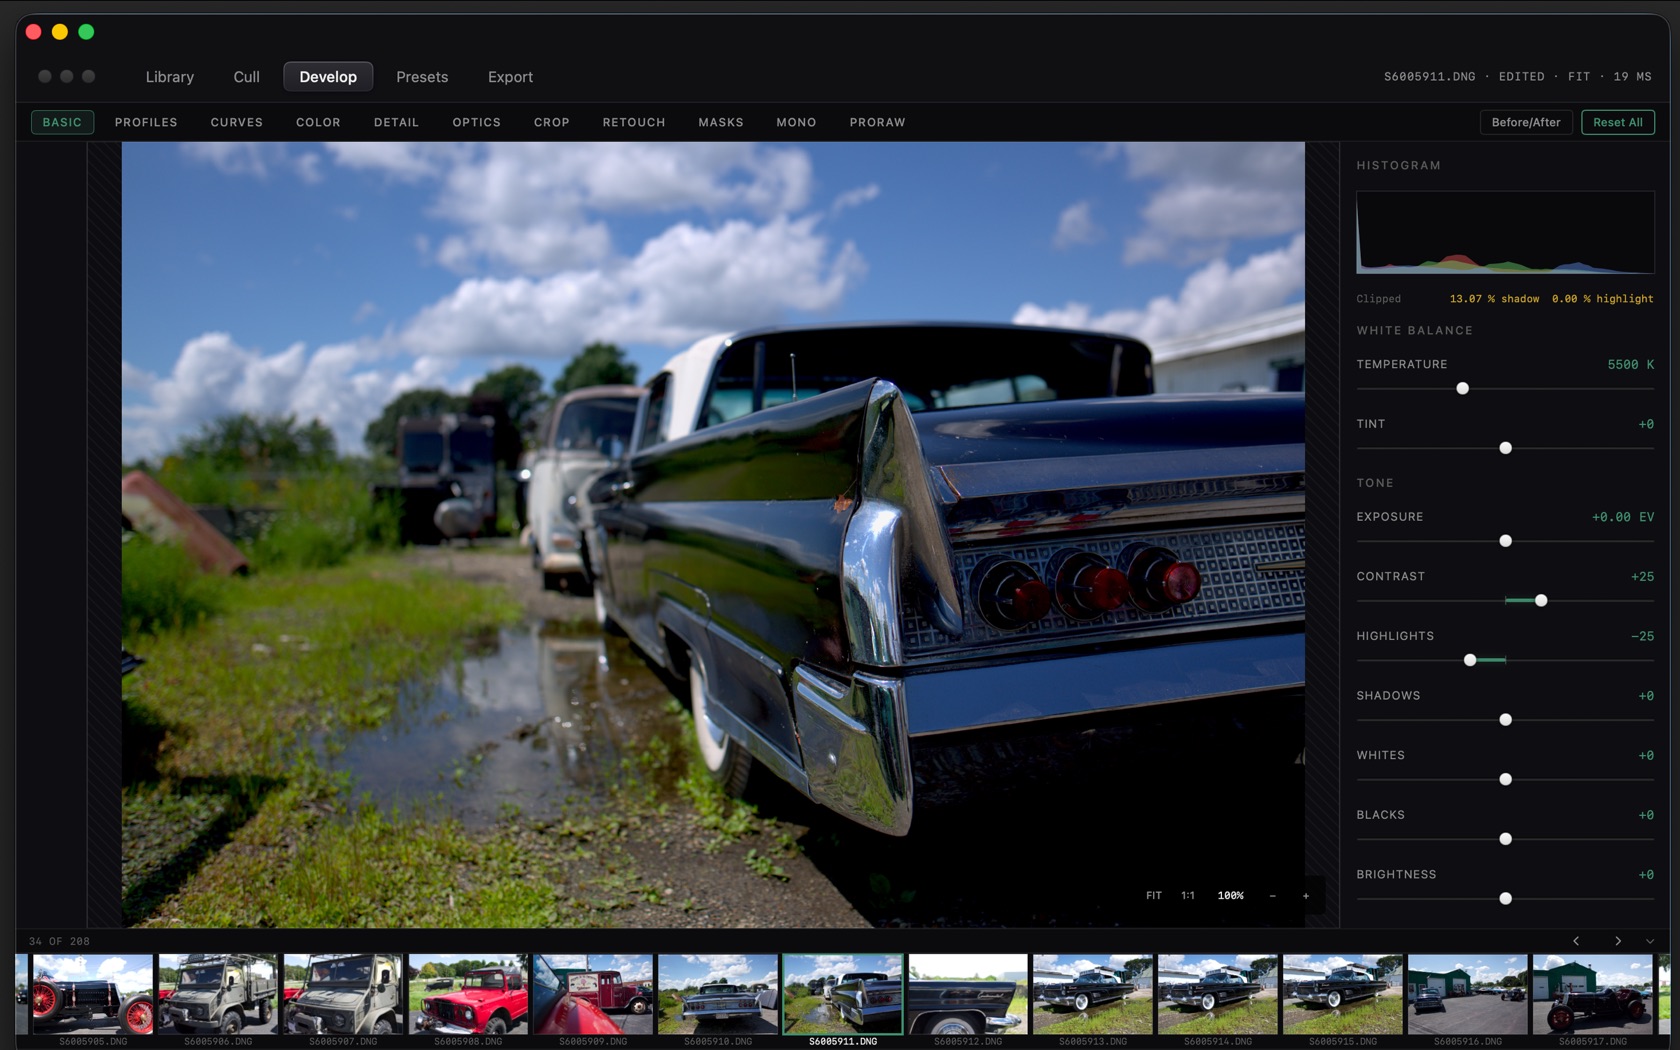
Develop is the loupe plus the inspector. The pane row is BASIC, PROFILES, CURVES, COLOR, DETAIL, OPTICS, CROP, RETOUCH, MASKS, MONO, and PRORAW. The title bar shows the filename, EDITED when a grade exists, FIT or the zoom, and the render time.
Neutral RAW Entry & Resume Edits
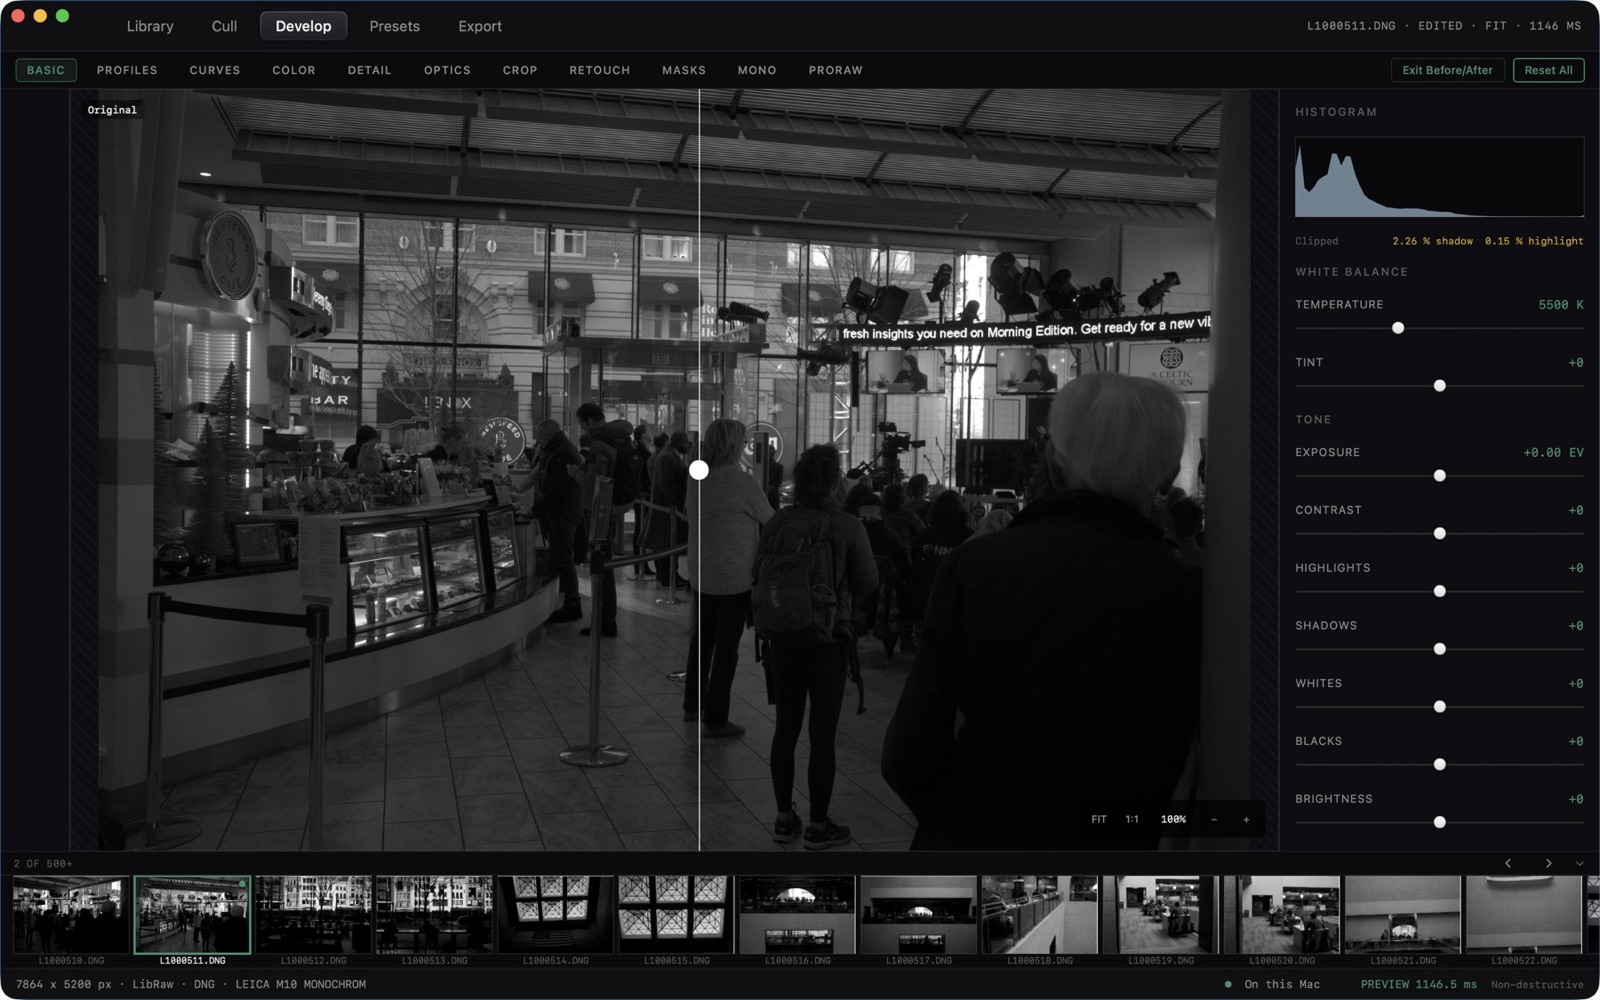
A frame with no grade is the camera file. Once you move a slider the title reads EDITED, and the filmstrip marks that thumbnail. Reset All clears the inspector. Before/After flips the loupe back to the ungraded file.
Basic Tone Controls
BASIC is the first inspector pane. The histogram sits on top, with a clipped readout for shadow and highlight.
- White balance
- TEMPERATURE in kelvin, and TINT.
- Tone
- The tone slider under white balance.
- Exposure
- Stops, shown as EV.
- Contrast
- Midtone separation.
- Highlights / Shadows
- The two ends of the tone scale, each with its own slider.
- Whites / Blacks
- The clip points.
- Brightness
- A separate slider under Blacks.
- FIT / 1:1
- The loupe scale. 100% is the 1:1 view. The filmstrip index reads as a count, such as 34 OF 288.
RGB & Per-Channel Point Curves
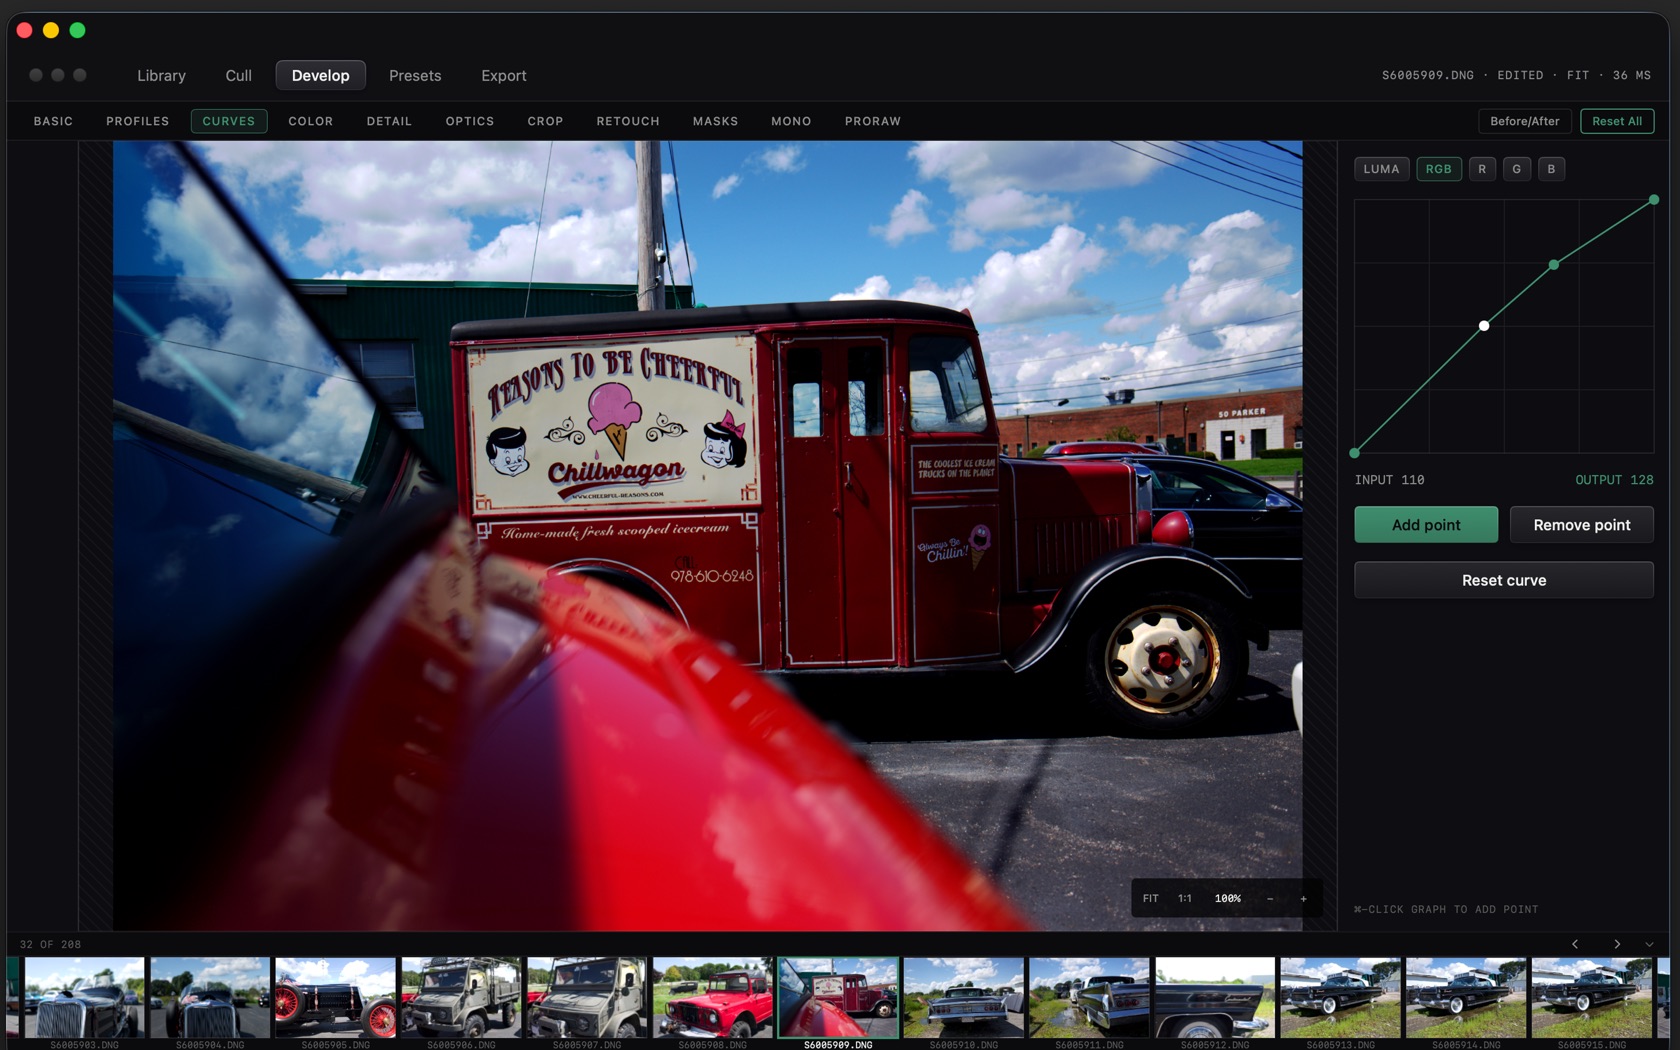
CURVES is a point graph. The channel buttons are LUMA, RGB, R, G, and B. The graph labels INPUT and OUTPUT. ⌘-click the graph to add a point. Add point, Remove point, and Reset curve sit under the graph.
Color
COLOR is the next pane after CURVES, before DETAIL, OPTICS, CROP, RETOUCH, MASKS, MONO, and PRORAW. Profile response lives on PROFILES, not on this pane. Mono conversion lives on MONO.